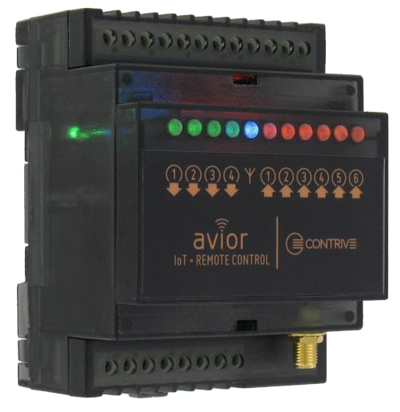
• If you have a 4G version, screw the antenna or antenna cable connector to the SMA socket [1].
• Connect the Mobi.Link cable (supplied) to the device [2] and to the USB port of a Personal Computer.
There is no need to make any other connections: the device is powered via the USB socket.

• Download the free software Avior.Key
• Extract the contents of the .zip file and launch Avior.Key.
No installation is required, you can run it from removable storage too.
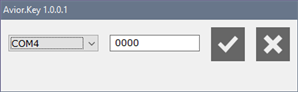
• Select the COM port to which AviorKey is connected.
• Enter the device password (default is 0000).
• Confirm by clicking on the button ✓ or abort the operation with the key ✗.
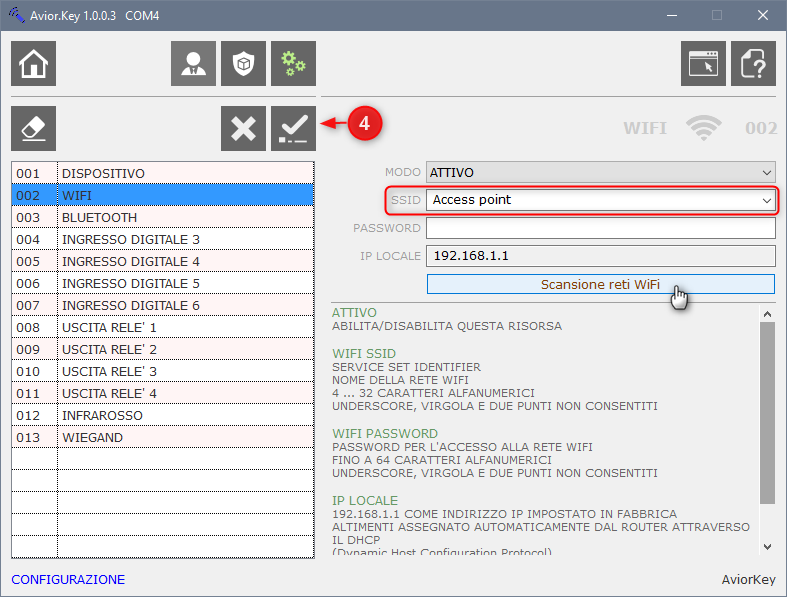
For AviorKey WiFi only, you will need to set up network access
• The first time AviorKey WiFi is configured, the WiFi configuration page will be shown:
- Select from those available or manually enter the SSID name.
You can also rescan for WiFi networks detected by AviorKey WIFi.
- Enter the password for the selected network.
- Send to the device by clicking on the button
✓ [4].
• Every time you turn off, turn on or change settings, your device will have to restart.
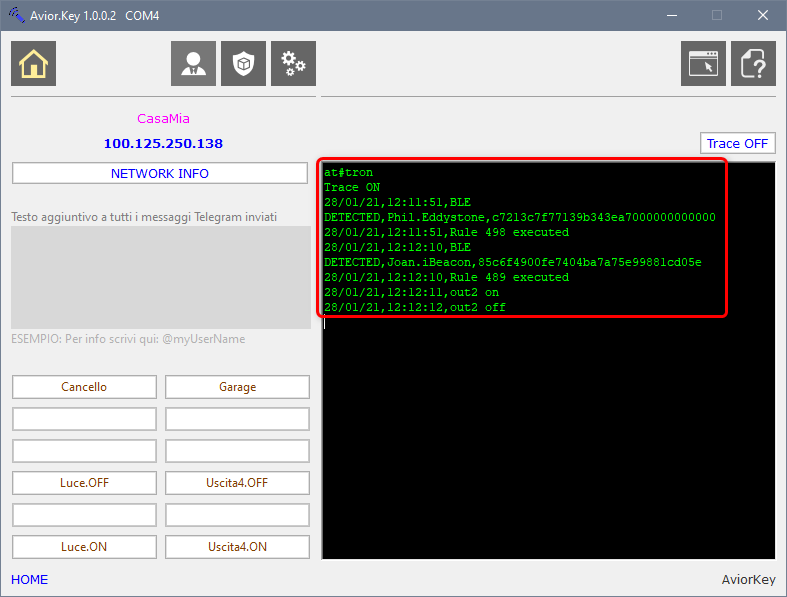
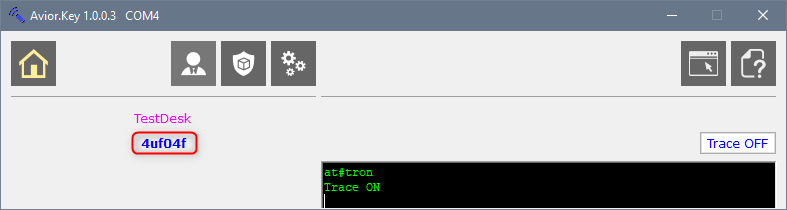
• On the main page you can see:
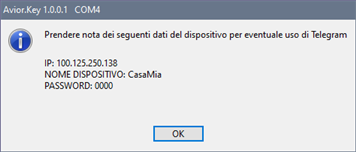
AviorKey 4G: the IP address of the connected device.
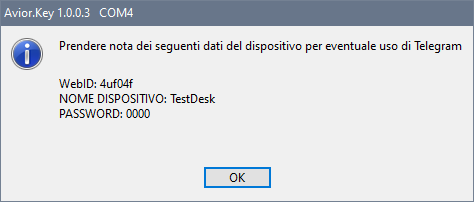
AviorKey WiFi: the WebId of the connected device.

• Information relating to the connected device is also presented when exiting the program.
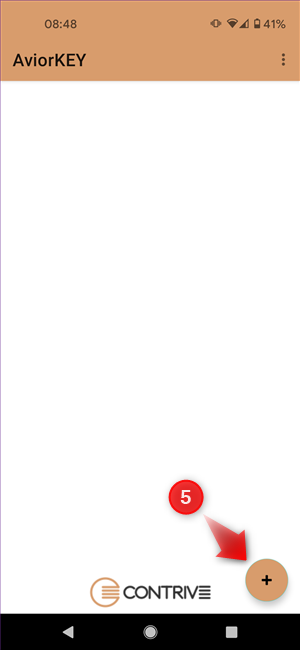
• Install and run the app AviorKEY on your Android device.
• Click on the
[5] button to define a new shortcut key.
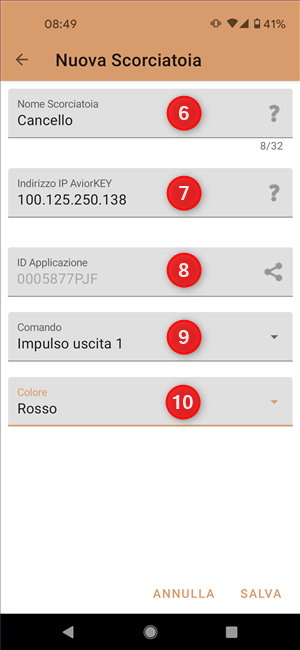
• Name this shortcut key
[6].
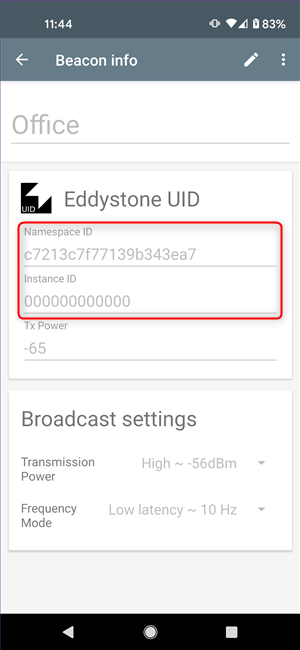
• Enter the identifier
[7] of the device you want to control:
• Note the Application ID
[8], it is unique and will identify the user.
AviorKey 4G:
IP address of the connected device.
AviorKey WiFi:
WebId of the connected device.
• Select the
[9] command you want to associate with this shortcut key.
• Choose the
[10] color for this button.
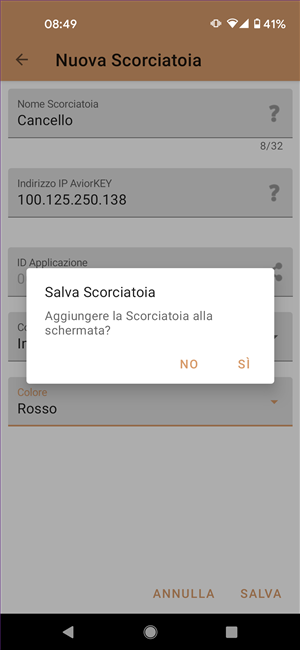
•
SAVE your settings.
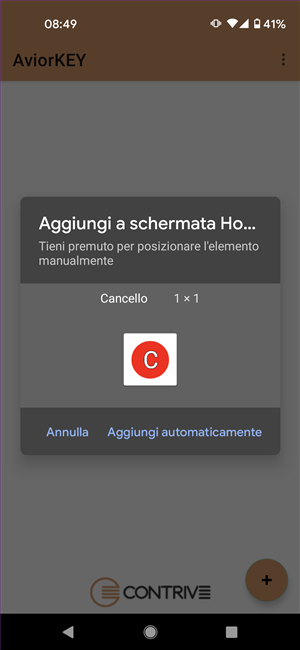
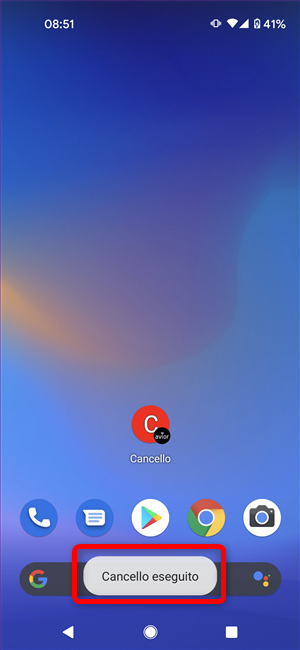
• Add the shortcut key to the smartphone home screen.
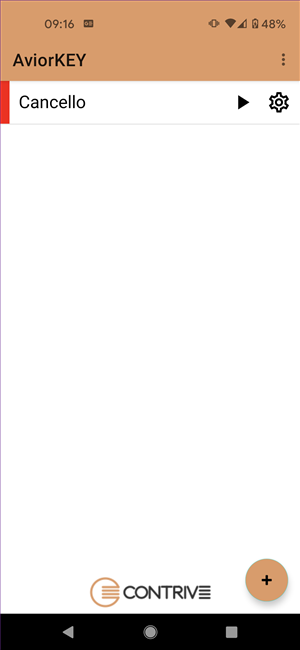
• In the main screen of the app you can see the list of keys created.
• Click
▶ to run the action associated with the key.
• Click
✱ to edit the settings associated with the key.
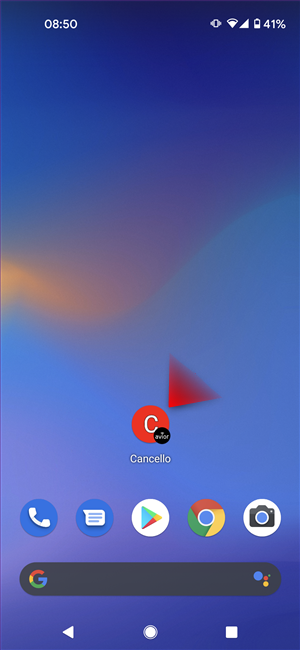
• The keys can be repositioned just like any other icon on the main screen.
• Click the key to run the associated command, confirmation will follow.
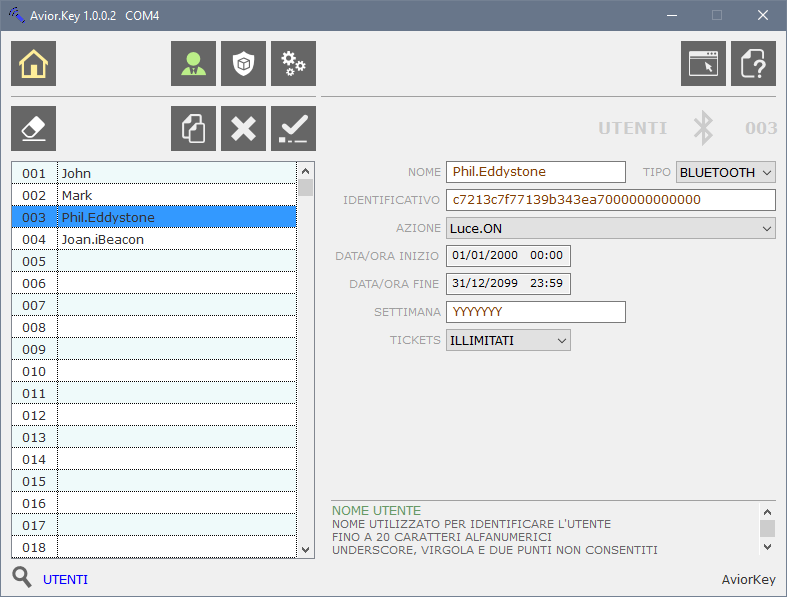
Now you have to enter the identifier of the app as a user
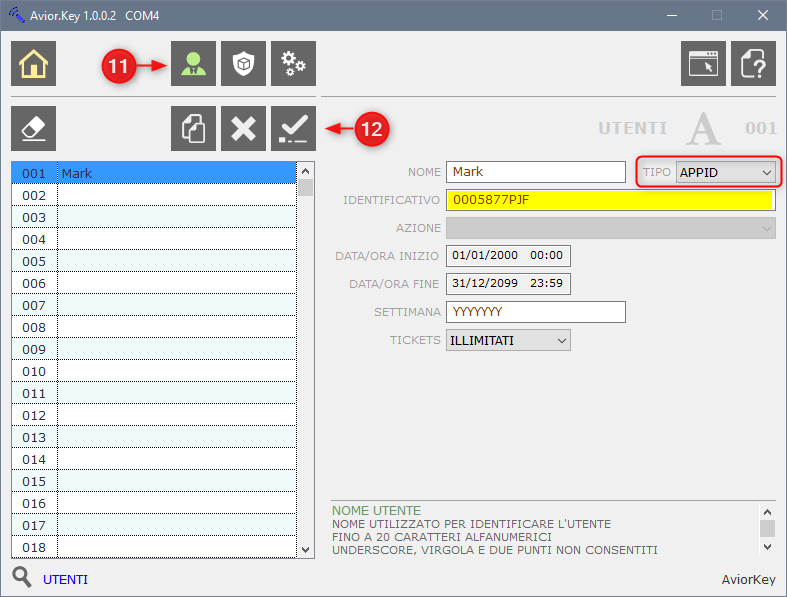 • Click on the [11] button to view the users page.
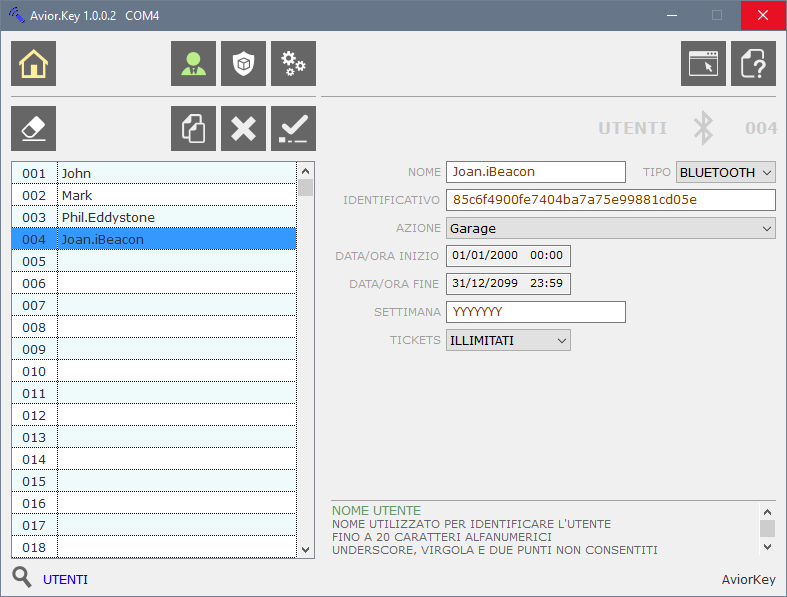
• Select user type APPID
• Enter the unique identifier assigned to your application.
• Complete with the other data and send the user to the device with a click on the button ✓ [12].
• Or you can do it from the web panel.
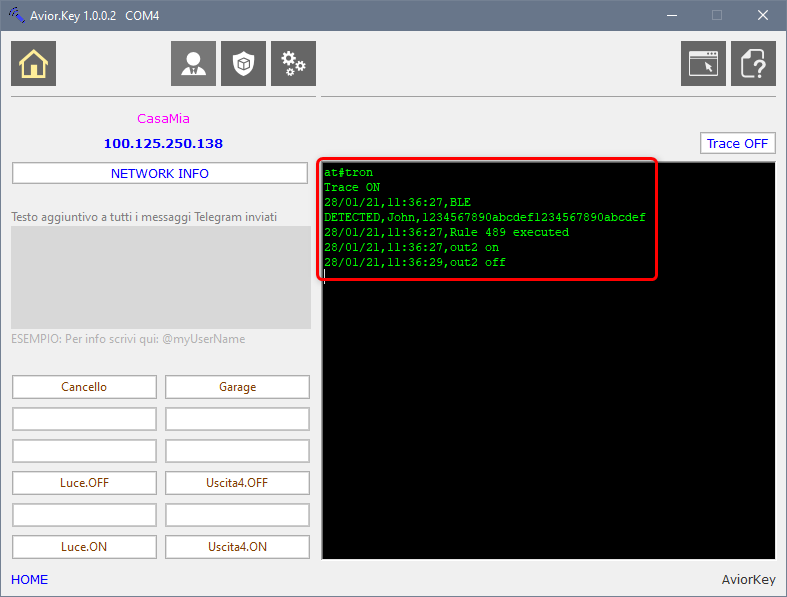
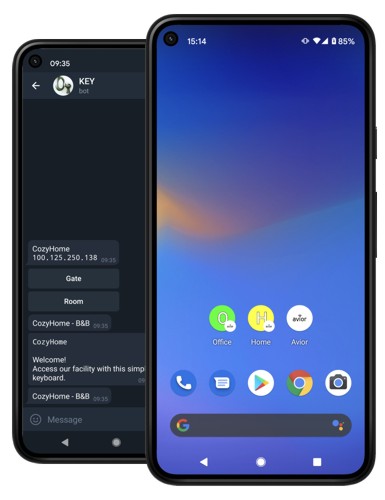
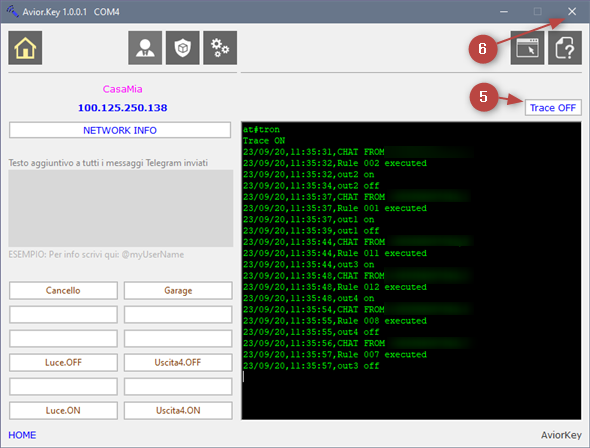
From the main page you can control your device.
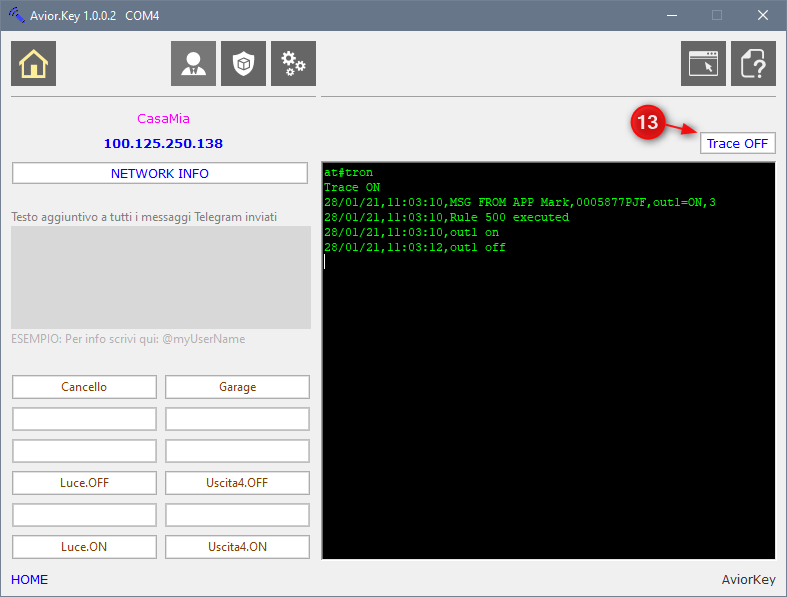 • Activate the tracking of all activities with the key [13].
HERE YOU CAN SEE THE COMMAND RECEIVED FROM THE USER APP DEFINED IN THIS EXAMPLE
• You can use the keys to control the outputs.
• You can request information on the cellular connectivity.


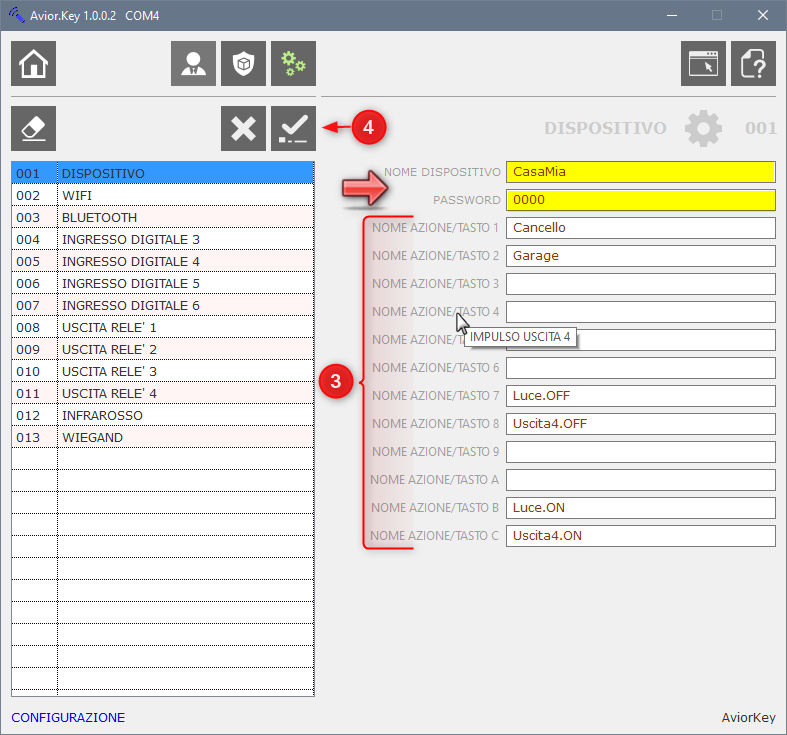 • This page also contains the texts used for the keyboard
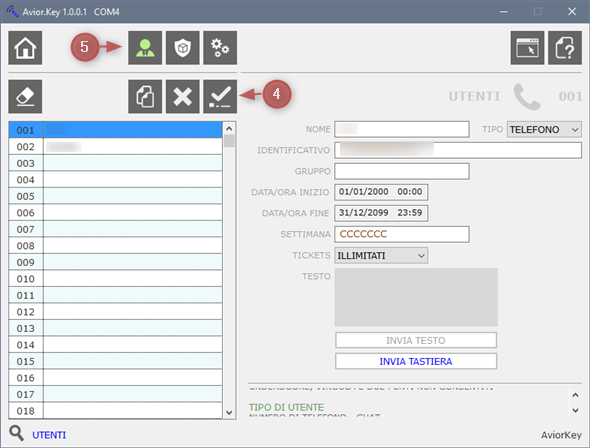
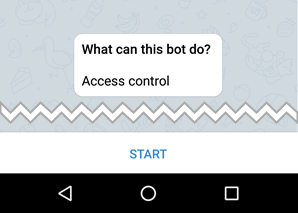
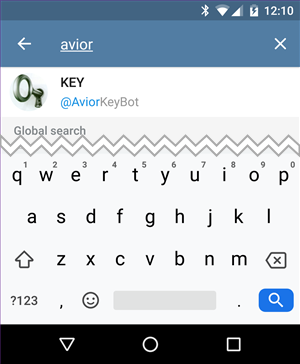 • Enter the chat Key and activate it by pressing the START button.
 • Confirm your registration for the service.
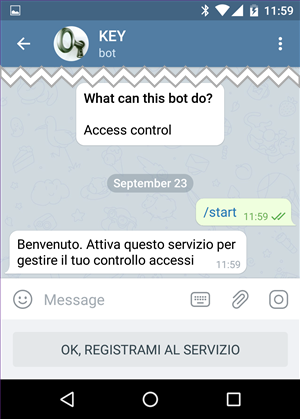 • Ask for the keyboard by sending a message containing the credentials separated by space:

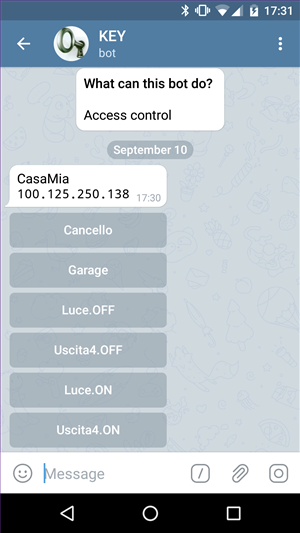 Above the keyboard are the name and IP address of the device it is associated with.
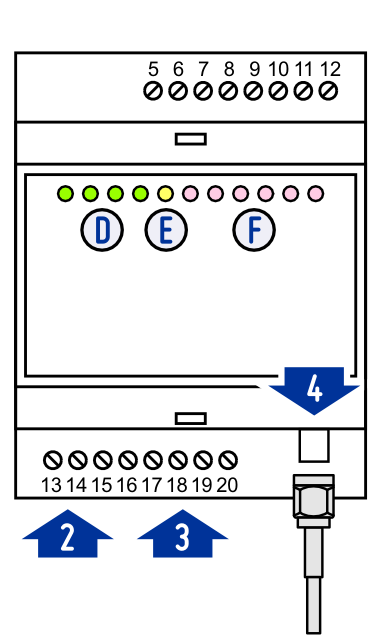
 • If you have a 4G version, screw the antenna or antenna cable connector to the SMA socket
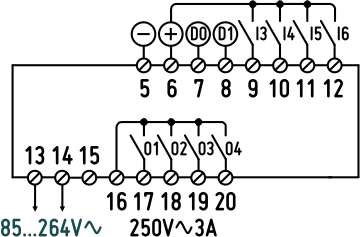
 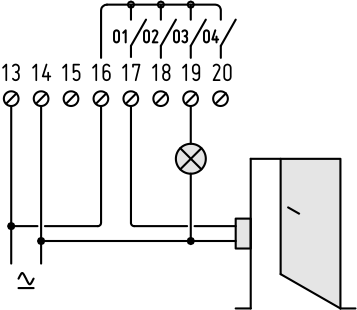 • The power supply phase is connected to terminal 13.
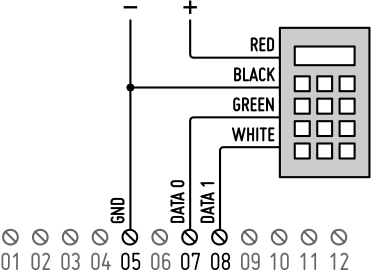 • The negative is connected to terminal 5.
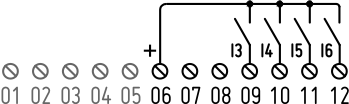 The AviorKey operating rules can be modified to perform actions associated with external contacts from switches, buttons or sensors.
Or to introduce conditions on the actions according to the limit switch status or external sensors.
The AviorKey operating rules can be modified to perform actions associated with external contacts from switches, buttons or sensors.
Or to introduce conditions on the actions according to the limit switch status or external sensors.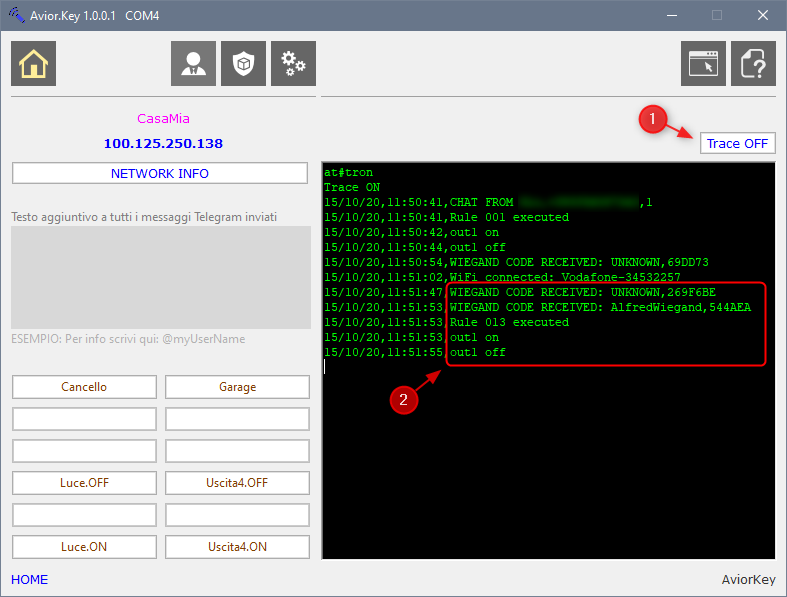 • In the red box
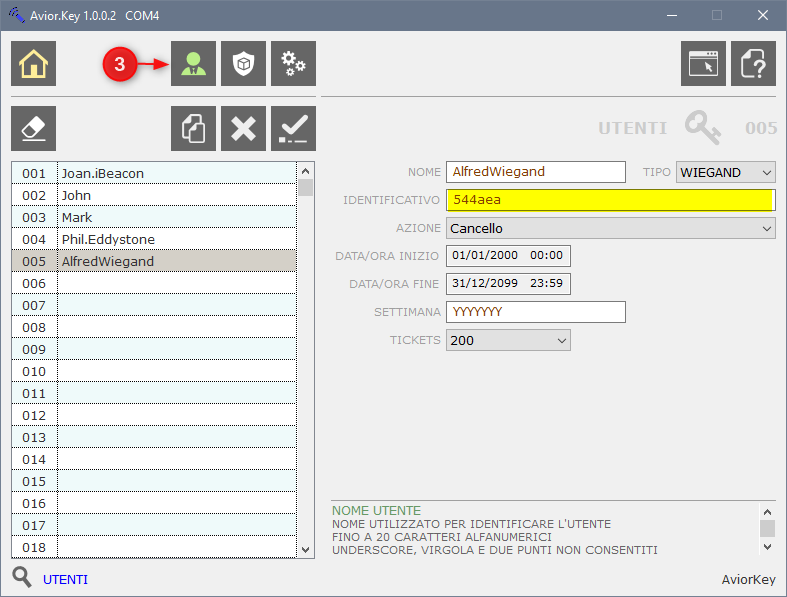
 • In the red box
 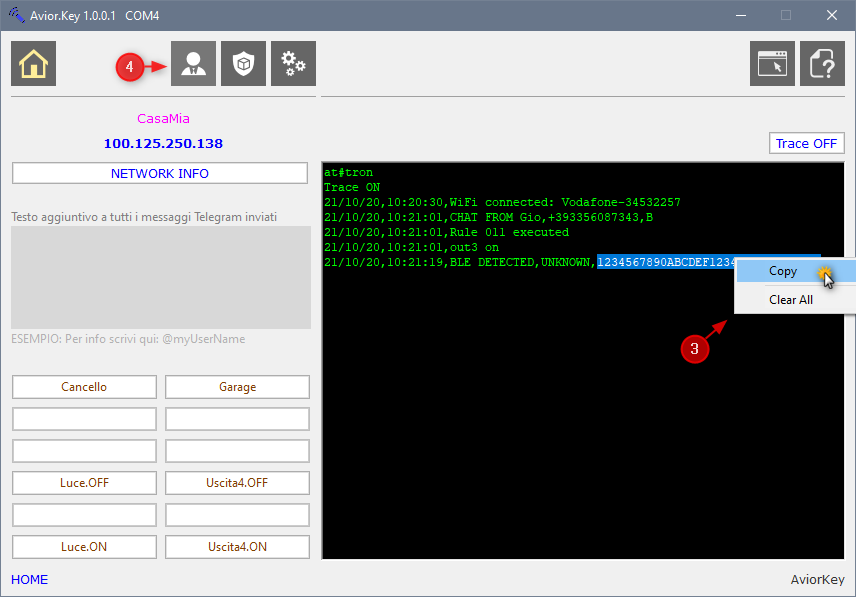 • If you want to enable this code, add it to Bluetooth users.
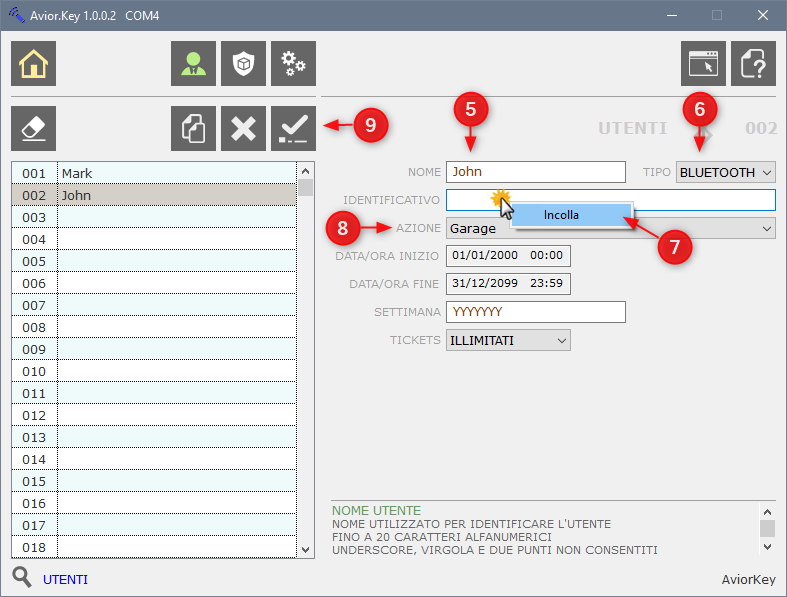 • Enter the name you want to associate with this code